
The Crafters Conservatory is my home of crafts, baking, sewing, cooking and everything else I attempt on a daily basis, in my sunny conservatory in Swindon.
Showing posts with label Crafts. Show all posts
Showing posts with label Crafts. Show all posts
Tuesday, 3 September 2013
Craft Swaps
I've recently been welcomed into the world of swaps, I have been very very spoilt by some fantastic, kind and talented people recently - I'll be sure to post full details here soon.
Tuesday, 13 August 2013
Terranium Make Over
I recently found this little 'plant greenhouse' in TK Maxx, it was cute as it was but a little young for me perhaps! The shape is lovely and I knew I would be able to find a use for it.


so I took out my trusty Annie Sloan chalk paint and got to work

I slathered every inch in the beautiful paint (after removing the Perspex windows)

The windows got a dose of leftover gold spray paint


and voila! My beautiful new make-up house was born!

Saturday, 10 August 2013
Washi Tape Holder - Tutorial
I don't know about you but storing my Washi tape for me has been something of a dilemma. Too beautiful to hide, too tricky to store and display nicely.
I recently spray painted a plain wooden kitchen roll holder with baby pink spray paint, it did the job nicely and looked okay

I was quite happy with it until I received this awesome parcel of American Craft glitter Washi tape from the lovely Lynne at Paper Mash (check her out on Instagram as well for her amazing #WashiWednesday competitions) these bloody gorgeous new additions to my Washi collection presented me with a new problem - the bloody holes in the spools are too narrow for my Washi tree!


Once I'd sorted in my head where I wanted them to got my trusty glue gun and secured each dowel in place with a blob of glue.


Now for the fun painting bit, I took mine outside (NEVER spray paint inside, I have learnt this the hard way with a pastel pink laptop and a very angry dad)

I gave it (and some plants..oops) a good going over with my lovely gold spray paint.
Here's where I noticed another thing I had overlooked - the glue holding the dowel in place had left an ugly rim of blobiness that the paint only exaggerated. It was too late to do anything now without having to remove the dowel and start again, so I hoped and prayed that the Washi tape, once in place would cover these bits! If you're planning to make one - glue and sand, glue and sand, is my advice!
 Thankfully! I was right and the tape totally covers any ugly glue blobs (thank the lord) and I can't tell you how thrilled I am with how it came out.
I think it looks AMAZING, the gold colour that you can still see the wood grain through, the Washi tapes all on show together, the fact I made it! Swoon. See for yourselves...


This took me about half an hour to get the pieces together and ready to be painted, an hour to paint and leave to dry and a few days to look at lustfully.. Enjoy!
I recently spray painted a plain wooden kitchen roll holder with baby pink spray paint, it did the job nicely and looked okay

I was quite happy with it until I received this awesome parcel of American Craft glitter Washi tape from the lovely Lynne at Paper Mash (check her out on Instagram as well for her amazing #WashiWednesday competitions) these bloody gorgeous new additions to my Washi collection presented me with a new problem - the bloody holes in the spools are too narrow for my Washi tree!

I searched high and low (on the internet for the 10 minutes my attention span would allow) and came to the conclusion I would have to make my own - it can't be that hard can it?
Surprisingly enough, it really wasn't!
To make your own Washi Tape holder you will need.

- Wooden Dowel - I got mine from B&Q, they sell various diameters and various lengths. I chose one very narrow and one quite wide and they were less than £2 each with plenty to spare
- 1 length of wood - again I picked up mine from B&Q, a plain pine half length plank which was less than £3
- Tape measure
- Small handsaw (or get the folks at the hardware shop to cut for you)
- Pen/Pencil
- Spray Paint of your choice (I went with Vaspar in Gold which was under £4)
- Glue gun and glue sticks
- Sandpaper
- Patience!
I started by getting all my Washi tapes out and stacking them onto each dowel so I could work out what length I would need to hold all of them, plus spare room for new additions.
I marked this length on the dowel with a pen and then using a small hand saw, cut to the desired length. I marked out on the wood where I wanted the dowels to go, and drew around them ready for gluing
I should point out this stage went horribly wrong for me. I had drawn the dowels very close to each other, not actually allowing enough room for the tape to go around each one, I didn't measure the middle of the plank so they were all off kilter. Just generally very rubbish - learn from my mistakes!

Once I'd sorted in my head where I wanted them to got my trusty glue gun and secured each dowel in place with a blob of glue.

Next I marked out how long I wanted the plank to be, cut this to size as well and sanded all the edges so it would be nice and smooth when painted with no possible splinters!

Now for the fun painting bit, I took mine outside (NEVER spray paint inside, I have learnt this the hard way with a pastel pink laptop and a very angry dad)

I gave it (and some plants..oops) a good going over with my lovely gold spray paint.
Here's where I noticed another thing I had overlooked - the glue holding the dowel in place had left an ugly rim of blobiness that the paint only exaggerated. It was too late to do anything now without having to remove the dowel and start again, so I hoped and prayed that the Washi tape, once in place would cover these bits! If you're planning to make one - glue and sand, glue and sand, is my advice!

I think it looks AMAZING, the gold colour that you can still see the wood grain through, the Washi tapes all on show together, the fact I made it! Swoon. See for yourselves...


This took me about half an hour to get the pieces together and ready to be painted, an hour to paint and leave to dry and a few days to look at lustfully.. Enjoy!
Saturday, 23 February 2013
Crafty Creatives Box 8
I'm a day later than promised, I'm sorry!
So Crafty Creatives Box 8 has arrived. Damn my job for making me miss the delivery every month.
I don't think I really need to rave about these guys any more than I alredy have, if you haven't signed up, frankly I think you're a bit of an idiot. For the price of two starbucks a month you get a wonderful suprise box of crafty goodness, items of supreme quality and a whole network of like minded wonderful people. Who wouldn't pay a tenner for that!?
Here's my look through Box 8..

Spots and Stripes is the theme this month.


The Kit is fimo jewellery. I'm not entirely sure I will actually make the kit this month which is the first time ever, the items are great (bonus points for the excellent pliers!) but I'm just not generally a fan of home made jewellery, and I'm certain I haven't got the skills to make anything I would wear. So I will be looking for inspiration on what else I can do - perhaps a Glue Gun Girl esque Macaroon keyring?


I also got, red stripey cotton, navy tissue paper and green spotty oil cloth. I already know I'm going to make an oil cloth mat with this for my bedside table, so I can wipe away the drinks I always spill in the night!


Washi tape and foam sticker pads will always come in handy, and I've already covered a little wooden box in the Washi Tape.


Bakers Twine, Beads and GORGEOUS paper straws really put the smile on my face. The straws are amazing and I've alredy got them displayed proudly in a litle milk bottle on my dressing table!

Cupcake cases were swiftly donated to my pastry chef brother in law, but I've since seen a tutorial for making flowers out of them on the crafty creatives blog and I could kick myself!

Fab art card - I have a sneaky suspicion I will be be cutting this up shortly to use on a card!
So thank you ladies for another brilliant box, and I can't wait to see what Box 9 will bring.
Have you made anything with your box yet?
Friday, 8 February 2013
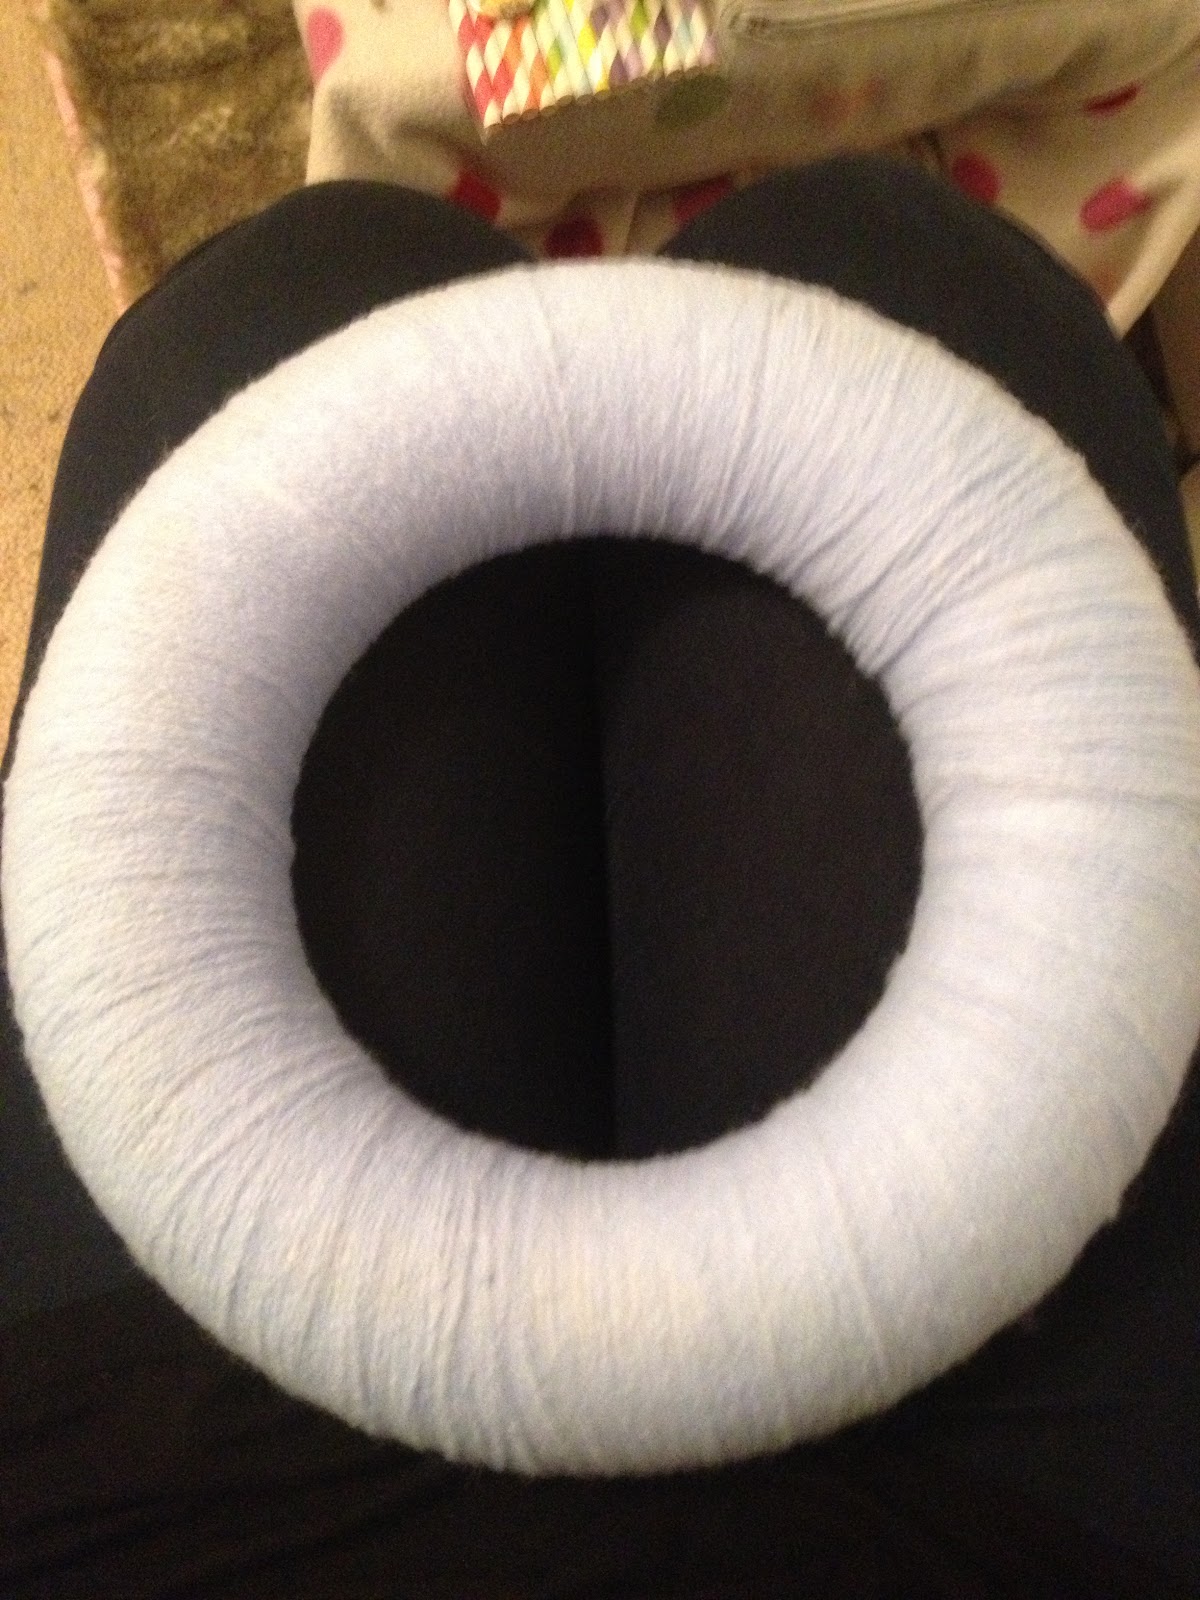
Pinterest Inspired Door Wreath
If you're anything like me you're something of a Pinterest addict. One of the things I see all the time and lust after is the beautiful seasonal wreaths.. who knew you could have a wreath without it being Christmas!
So I decided to give one a go for my bedrooms door.
I started with a polystrene 25cm wreath base (I think it was about £4 from hobbycraft) and a leftover ball of knitting yarn, I covered the wreath in double sided tape and set about wrapping the yarn over the base..

..I should add that it took about 3 hours to cover the wreath.. there must be a quicker way (answers on a postcard please!)
Once it was covered I got my glue gun out and plonked on some colourful paper straws (about £3 on ebay) in random places and at random lengths.


Once that was done I got some contrasting wool and covered a wooden letter J in exactly the same way.

I then glued the letter onto the straws/wreath and added a little felted Mickey Mouse I had made with last months Crafty Creatives kit!

And voila! It's a bit mental but I love it..
Has Pinterest inspired you to be crafty recently?
Monday, 28 January 2013
100th Post - Something new and exciting.
I can't believe I've made it to 100 posts!
This place is really a haven for me, blogging is a fantastic hobby and I have learnt so many new amazing skills and 'met' so many lovely people.
So if you're reading this, thank you, it means a lot to me to know that people take time out of their lives to see what I've been upto.
To mark my 100th post I thought now would be a good time to announce something new, so drum roll please....
Paper Punny.
Watch this space!
Friday, 18 January 2013
Crafty Creatives Box 7 - SPOILER ALERT!
First up - SPOILER ALERT!
Now that's out of the way, it's that time again, Crafty Creatives box number 7 arrived with most of us this week. Here's my little look through this months box.

After the first glimpse you know immediately it's going to be a good one! This month's is a Nature/Woodland theme and boy is that a good choice! This may well be my favourite box, the quality and quantity of the items gets better every month, this one is so packed!
The art card this month is so pretty, it's definitely going on my wall!
The first thing I pulled out was these three birch hearts. I have no idea what I'm going to do with them but I LOVE them, we had a huge silver birch tree in my garden when I was growing up and I always got told off for peeling the flaky silver paper-like bark off. These are so tactile and they look lovely, great start!

Next up, two lovely porcelain fox beads. I think these would make great earrings!

5 metal leaf charms - I'm thinking a tiered droplet necklace for these babies...

Loads! of wooden leaf buttons - I'm already planning a tree on canvas, with embroided trunk and background.

Owly fabric - this is so cute! This would make gorgeous childrens clothes, maybe bunting!

Large metal owl pendant - This would obviously make a lovely necklace, but has anyone done anything else more original?

Pinecone - This is definitely being spray painted!

Skeleton leaves - These would lovely on a notebook or against some dark fabric

I love these! Glass toadstool beads, so sweet, these are definitely going on a bracelet!

Flower soft - I'm not entirely sure what this is, but it looks fun! Time for some research....

And this month's kit is...

Needle felting! This is fab and right up my street, I can't wait to get felting, but I am a little scared about the barbed nedle!

I officially now have two favourite days - Pay day, and Crafty Creatives day!
Roll on the next one, maybe a valentines theme..?
Subscribe to:
Posts (Atom)